Salesforce DevOps Center
DevOps Center is a modern change management and releases management tool which is natively in Salesforce.
It provides an end-to-end Experience allowing developers and admins to work together to build and deploy salesforce applications.
It is a point-and-click interface that allows you to manage environments, easily track changes, integrate with source control systems, and perform deployments.
Installation and Setup
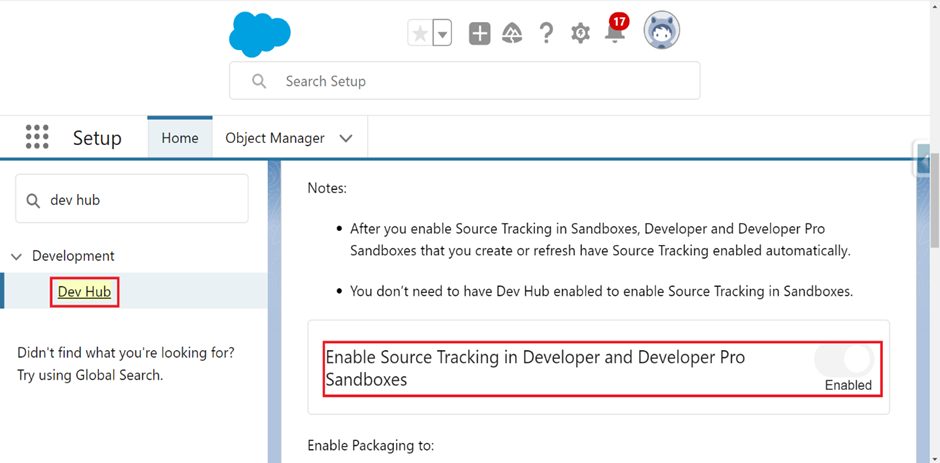
Go to setup, in quick find search Dev Hub and verify source tracking in developer and developer pro sandboxes is Enabled.
In quick find, Search DevOps center and make sure that DevOps center is enabled.
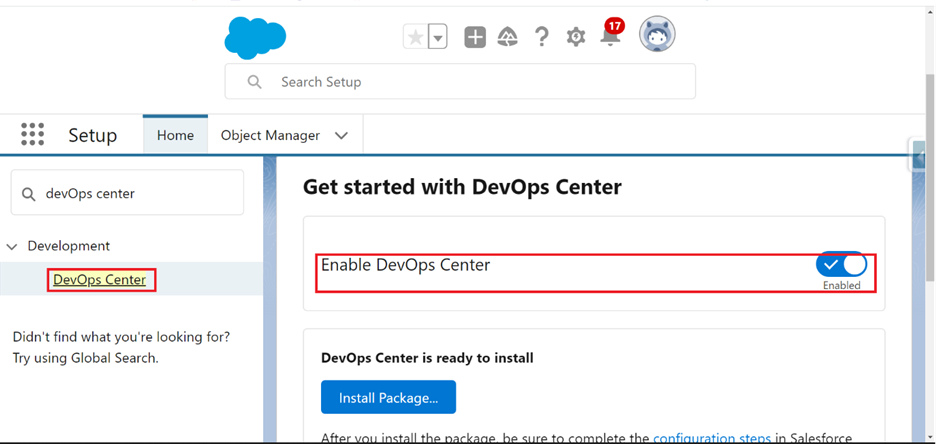
After enabling, Accept License agreement popup will be shown, and click Accept.
Install the DevOps center package, and select Install for admins only.
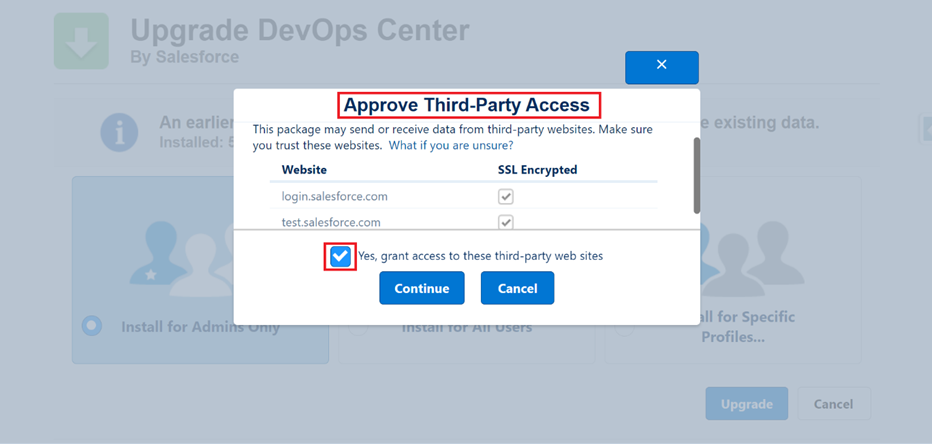
Approve Third-Party Access popup will be shown, verify the checkbox is selected, and click continue.
Creating Connected App
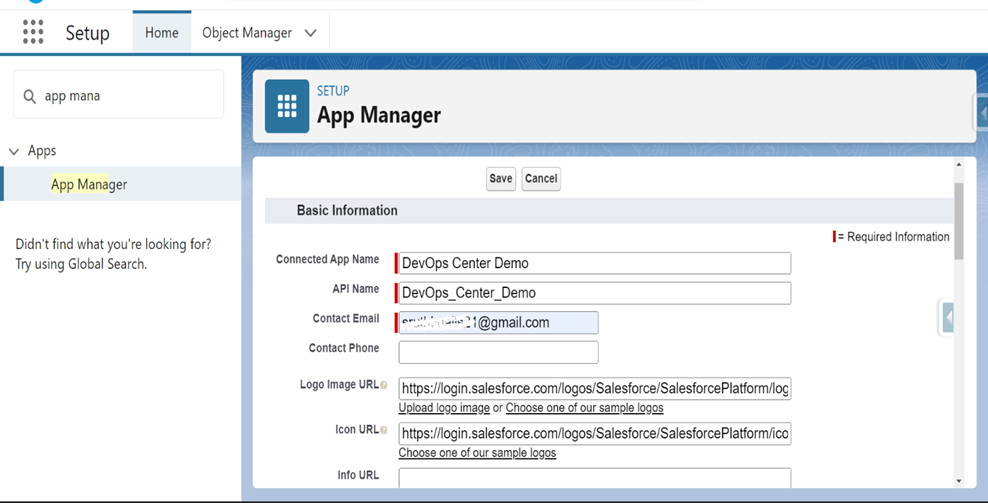
In Setup, Quick Find Search App Manager, And click New Connected App.
Assigning Permission Set to the Connected App
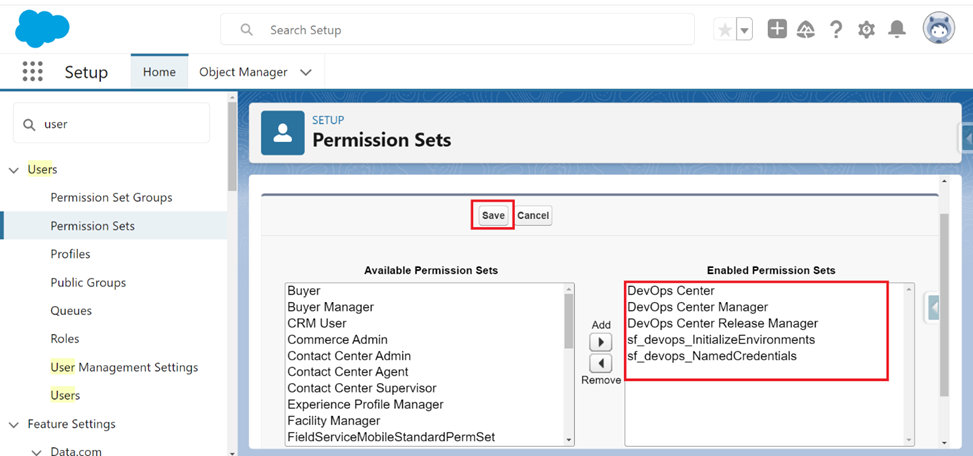
- In Connected App, Click Manage, In Permission Set Select Manage permission set.
- Select Sf_devops_Named_Credentials and Save

Permission Set Along with DevOps Center
| Permission Set | Description | Assign To |
| DevOps Center | Base Permission Set | All DevOps Center Users |
| DevOps Center Manager | Access and permission needed to set up projects, environments, and users | Team Manager/ Project managers |
| DevOps Center Release Manager | Perform promotions through the pipeline | Release Manager |
| Sf_devops_Initialize Environments | Manage Connections to the work environment | Team Managers/ Project Managers |
| Sf_devops_Named_Credentials | Grand access to the named credentials needed to authenticate to environments | All DevOps Center Users |
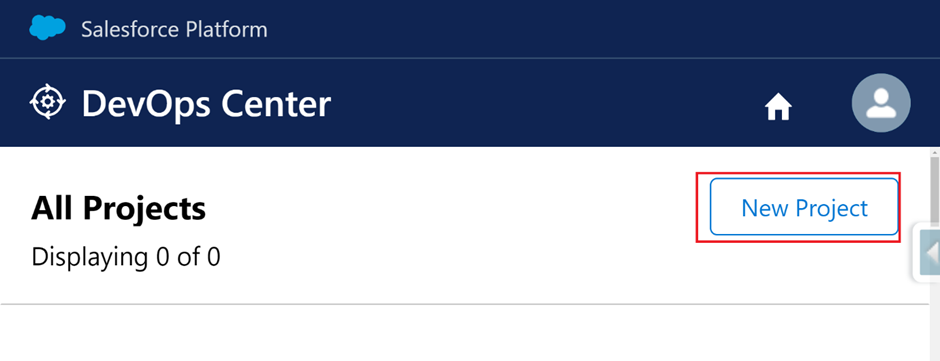
- In the App launcher, Search DevOps Center and Select DevOps Center.
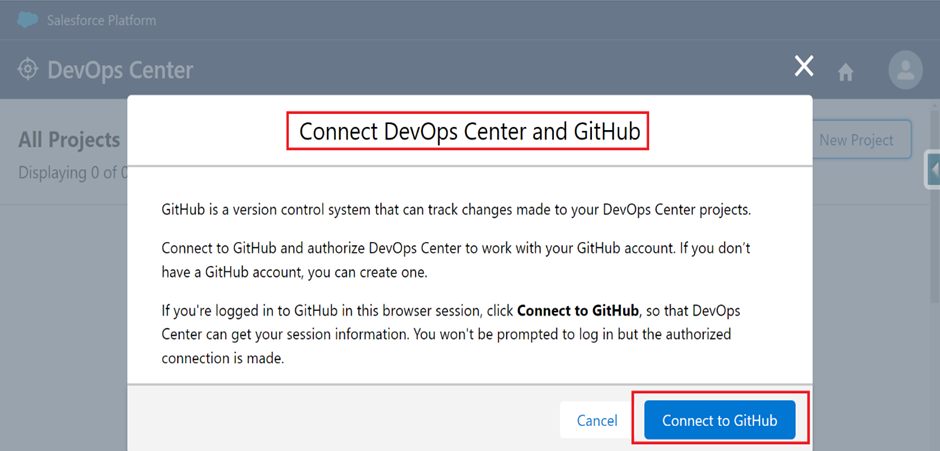
- Select New Project. Popup will be shown Click Connect to GitHub and give your Credentials.
- Authorize GitHub for source tracking
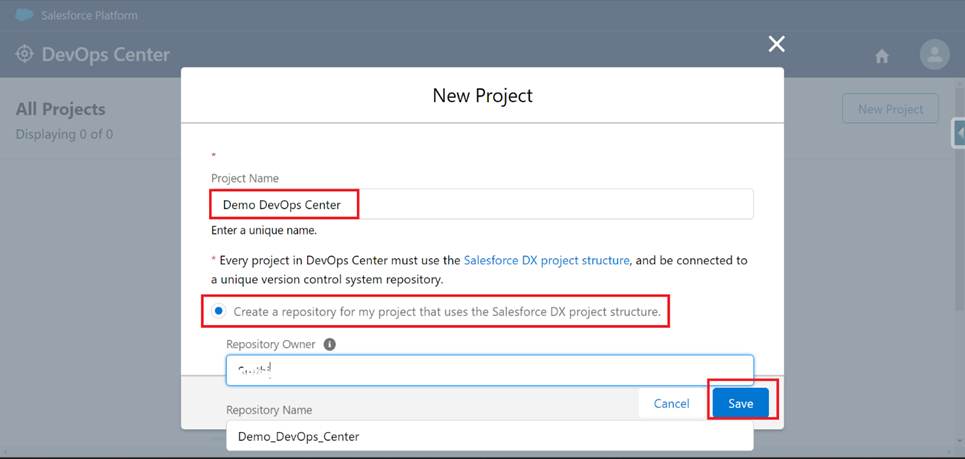
- Provide a Project name And Repository name
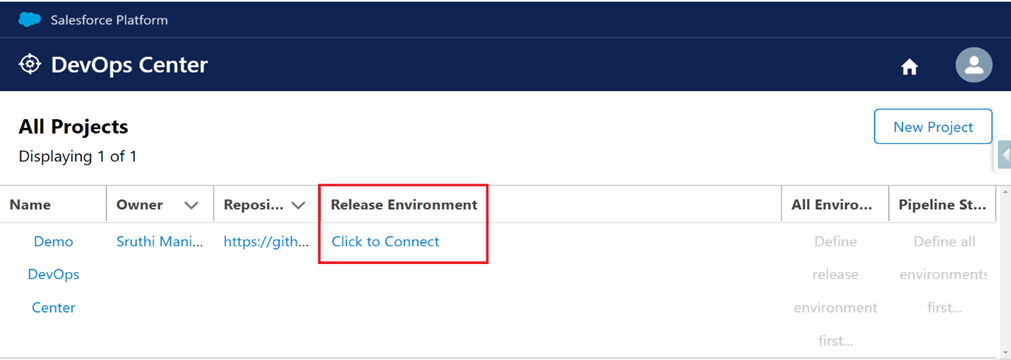
Add Release Environment
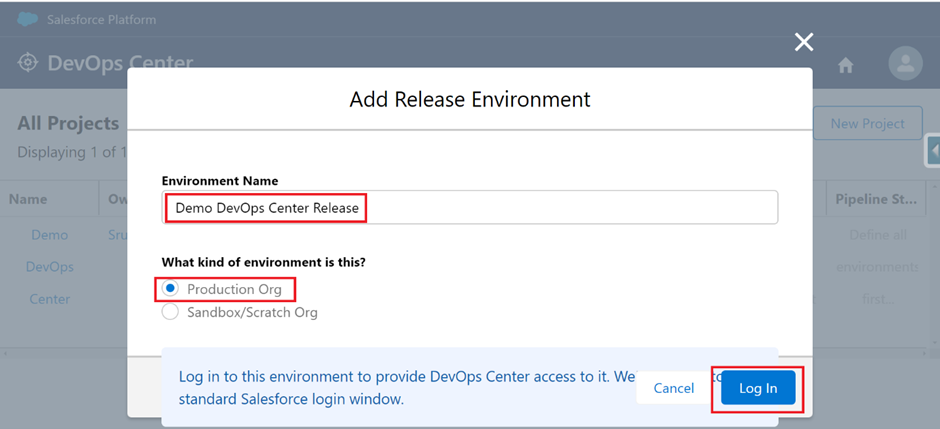
Click Add Release Environment and provide Environment Name and Select what kind of environment.
Select production org and Login. And its Shows the Production environment login Credential – click Login.
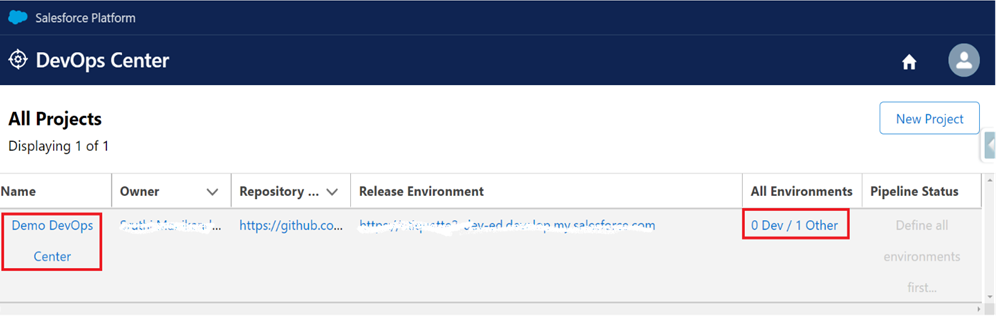
Click Allow, and it connected to your production org.
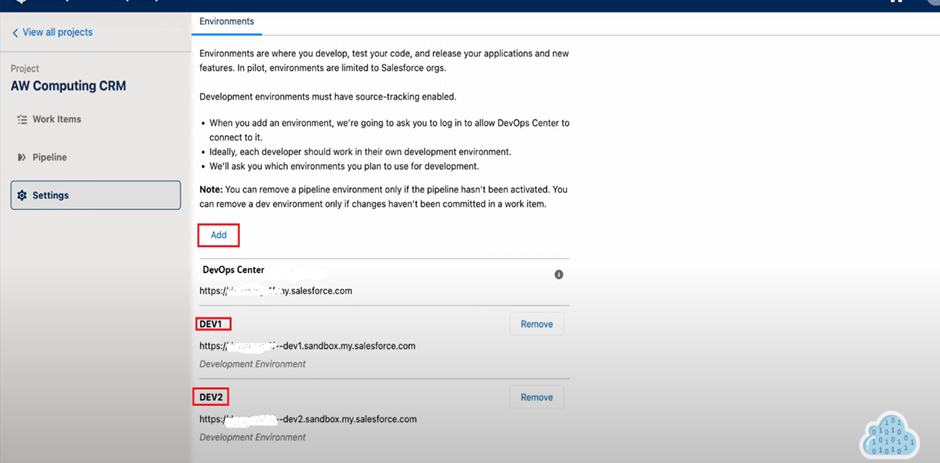
Add Development environment to the projects
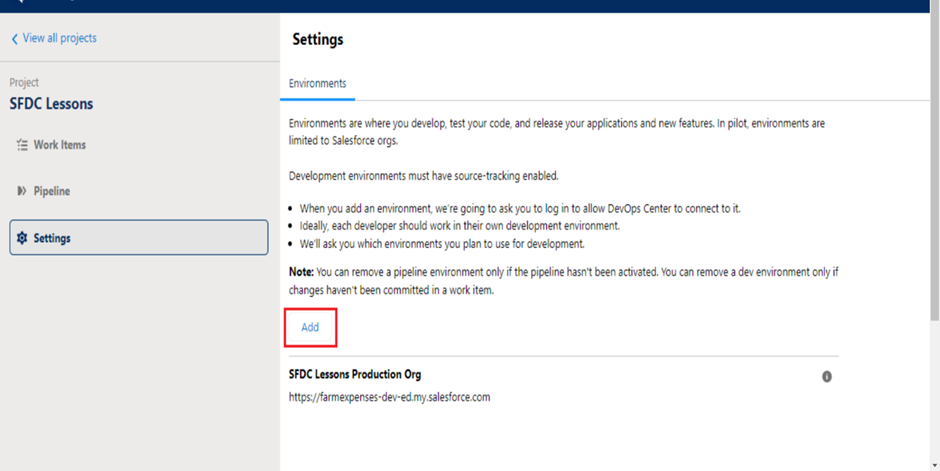
fig
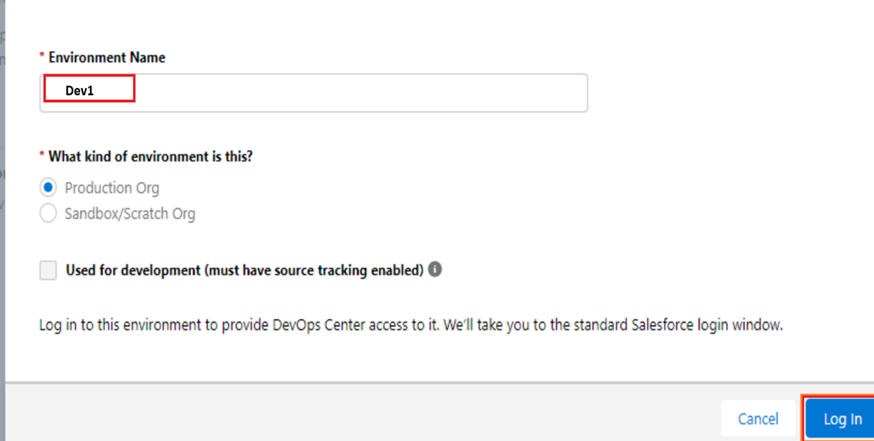
- Enter the Environment Name.
- Select the Type of the org. (Production/Scratch/Sandbox).
- Check the checkbox used for development.
- Click log in
Setup Pipeline
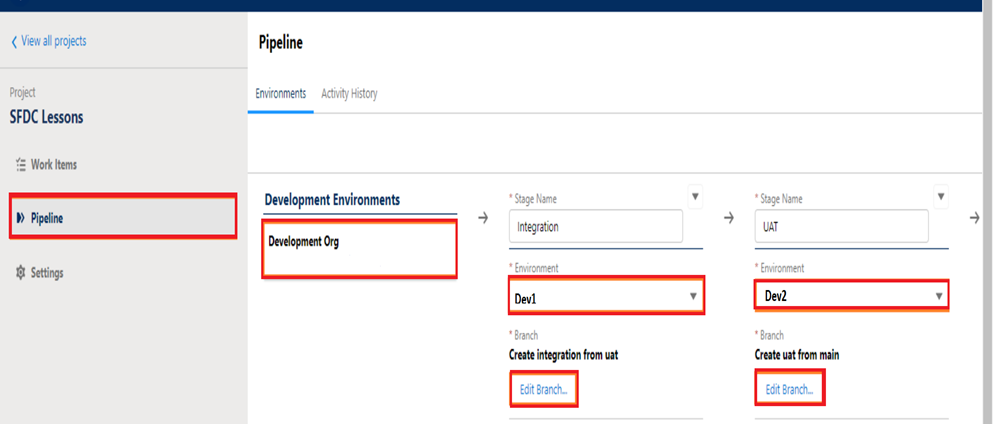
The DevOps center App has been successfully Configured
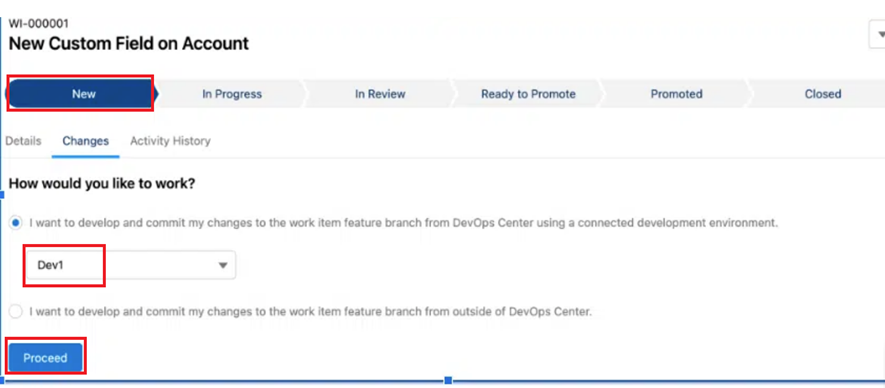
Work Items to test pipeline
The work item is a ticket that is used in the DevOps center to track the work process to achieve a specific Goal.
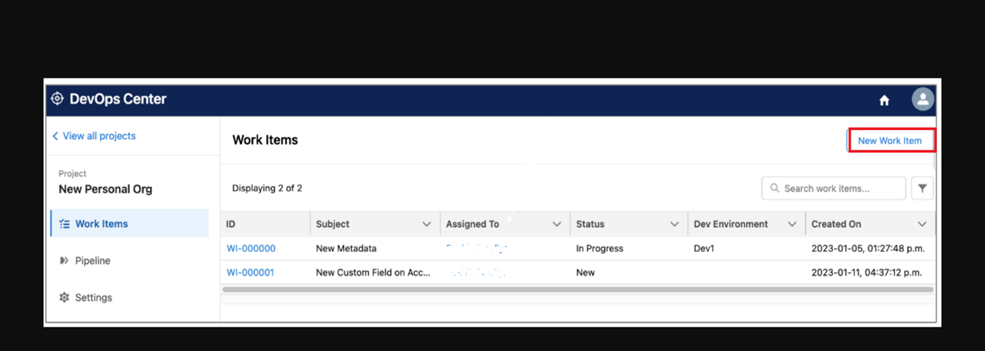
Click the New Work Item Button
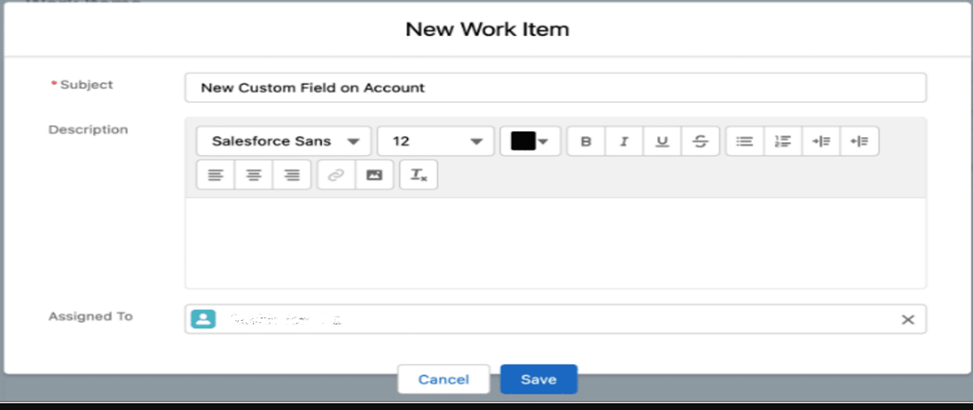
And assign a Work Item to a particular user and click on save.
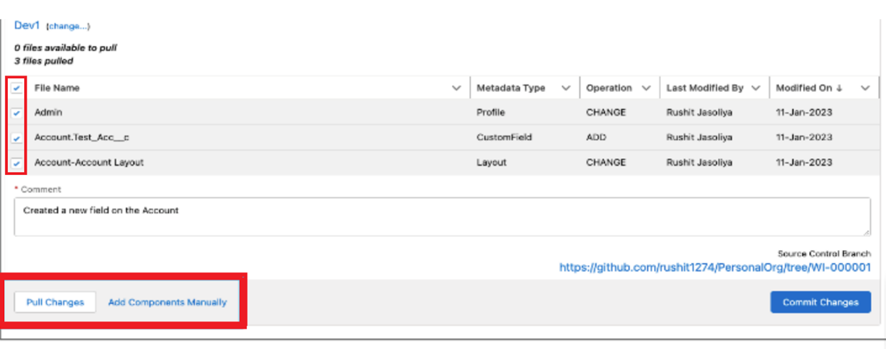
Click Pull Changes to get the modified metadata
Click Create Review, it will create a Pull Request

And now a pull request has been created. You can see the pull request in the branch (GitHub).
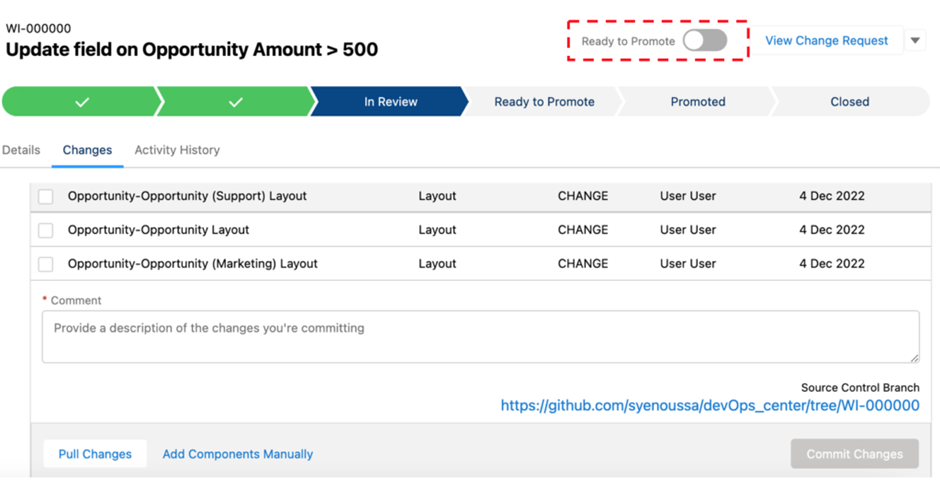
Select Ready to Promote which will merge the pull requests to the respective branch.
Now click Pipeline, and you can see your work item it is ready to move to a higher environment.
Click Complete Promotion
You can see the Deployment in the sandbox
You will receive a popup message that the promotion is successful!