Salesforce CLI Setup
What is Salesforce CLI?
The Salesforce Command Line Interface (CLI) is a powerful, free, and open-source tool provided by Salesforce. It simplifies and automates tasks across the platform, making the development process faster and easier for both developers and admins. By using the Salesforce CLI, users can speed up the development process and enjoy greater efficiency in performing tasks.
Install Salesforce CLI on Windows:
Follow the steps to install CLI:
- Go to the browser and search “Salesforce CLI download”.
- Click on the website shown first “https://developer.salesforce.com/tools/salesforcecli”.
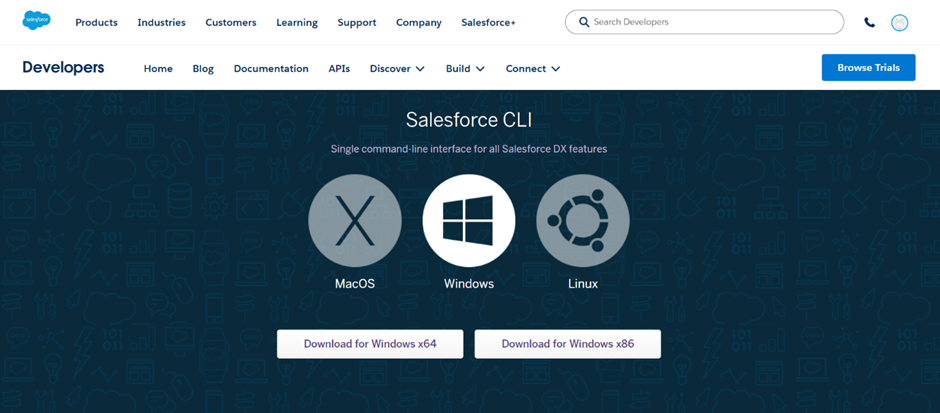
- According to our operating system download the suitable x64 / x86 bit.
- After the download is completed, then install it.
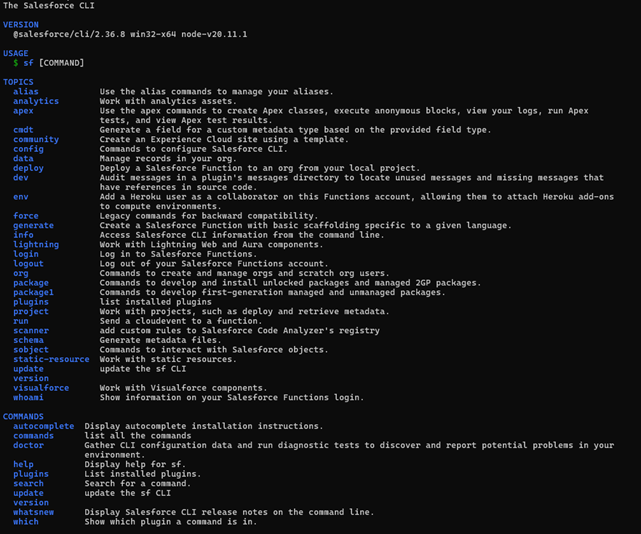
- To verify that is it installed properly or not.
- Open the command prompt and type “sfdx –”.
- It will show the current version, Topics, and Commands.
Install the CLI with npm:
If you’ve installed Node.js on your computer, you can use npm to install Salesforce CLI. This method lets you install Salesforce CLI from the command line and can be especially useful for continuous integration (CI) use cases.
This installation process is a good option if you don’t have administrator permissions on your workstation, or if group policy blocks CLI installation and updates. Installing Salesforce CLI with npm doesn’t require root permissions.
- Open a command prompt.
- Make sure you have the latest LTS version of Node.js installed on your computer. To install it, go to https://nodejs.org/en/download/.
- To check your version, run this command from the terminal or command prompt: “node –version”.
- To install Salesforce CLI, run this command “npm install @salesforce/cli –global“