Custom Settings and Custom metadata
Custom setting:
- Custom setting data are stored in the application cache memory, which is easy to access Without Query.
- It Similar to a custom object
- Triggers are not involved in this setting.
- Custom settings can create up to 300 fields.
- It provides limited custom fields only.
Types of custom settings:
There are two types of custom settings in Salesforce:
- List custom settings
- Hierarchy custom settings
List Custom Settings:
- List custom settings are used to store data that needs to be accessed as a collection.
Hierarchy Custom Settings:
- Hierarchy custom settings are used to store data.
- The collection of data is fetched based on profile and user.
How to create the custom settings
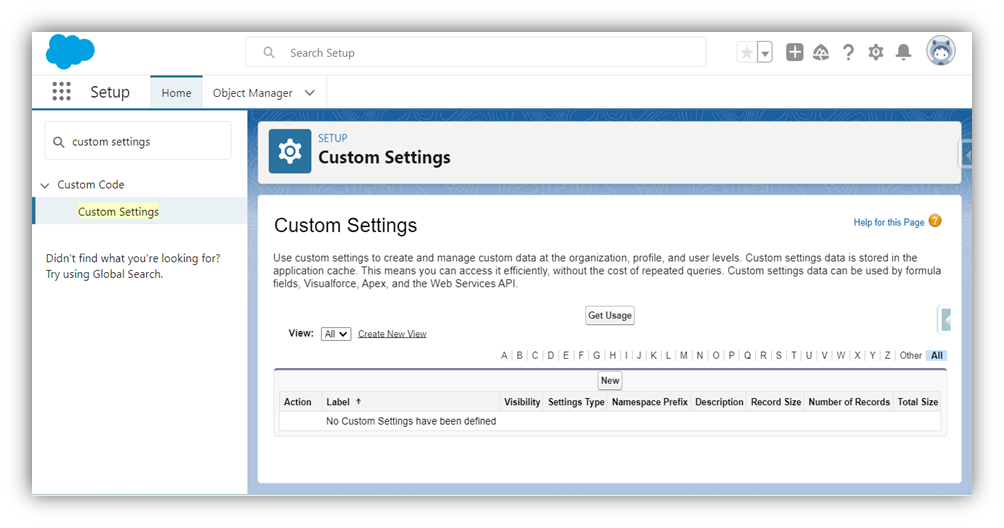
Step 1: Access the Salesforce Setup menu.
Step 2: In the Quick Find box, search the Custom setting and click the new button
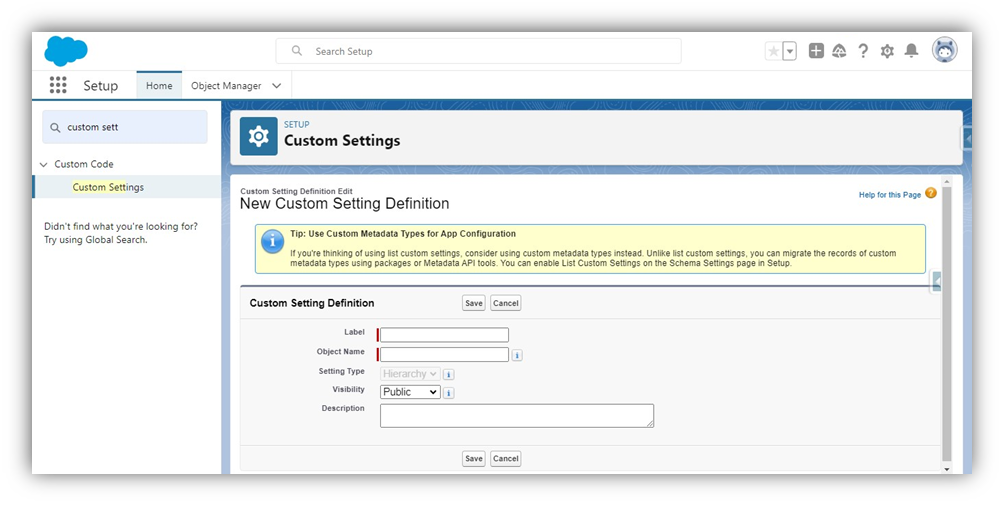
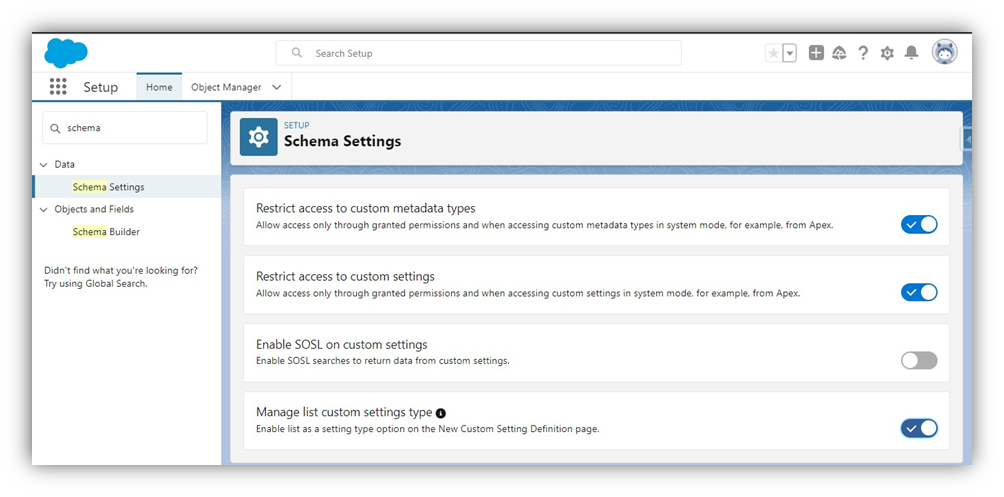
Step 3: If you see that the setting type is not enabled so we find the schema setting and then enable the Manage list custom setting type. Next,
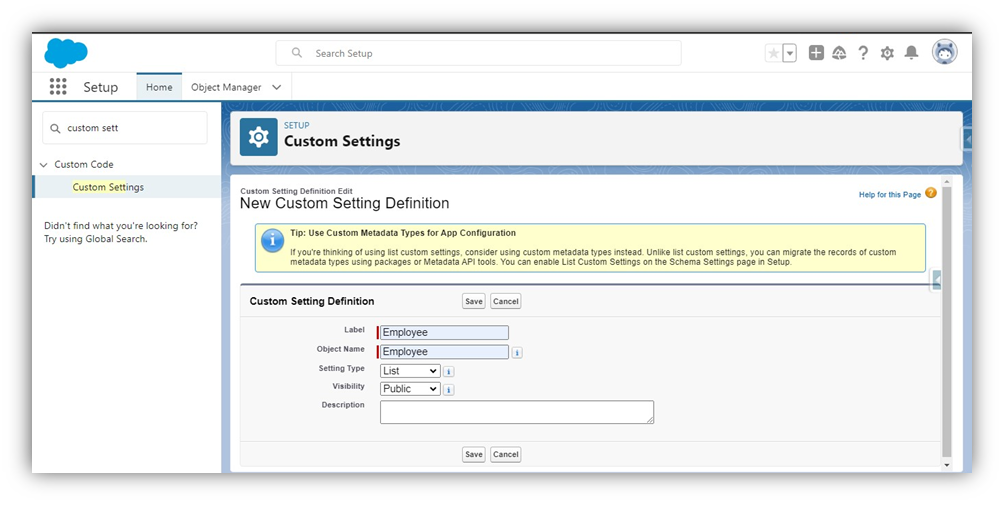
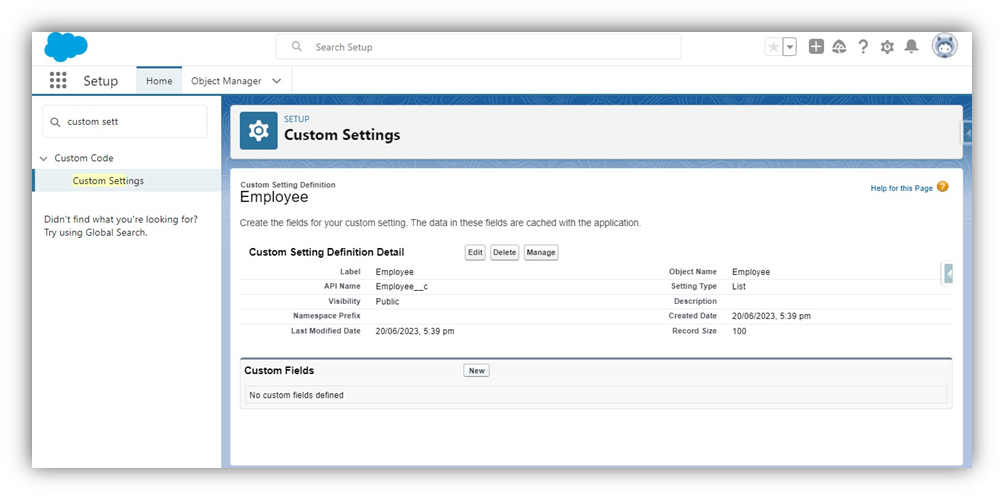
Step 4: Now, the setting type is enabled that fills the object name and label. For example, I have entered the object name and the label is Employee.
Step 5: Now, the custom settings are created. Now, we click the new button and start creating custom fields for our needs.
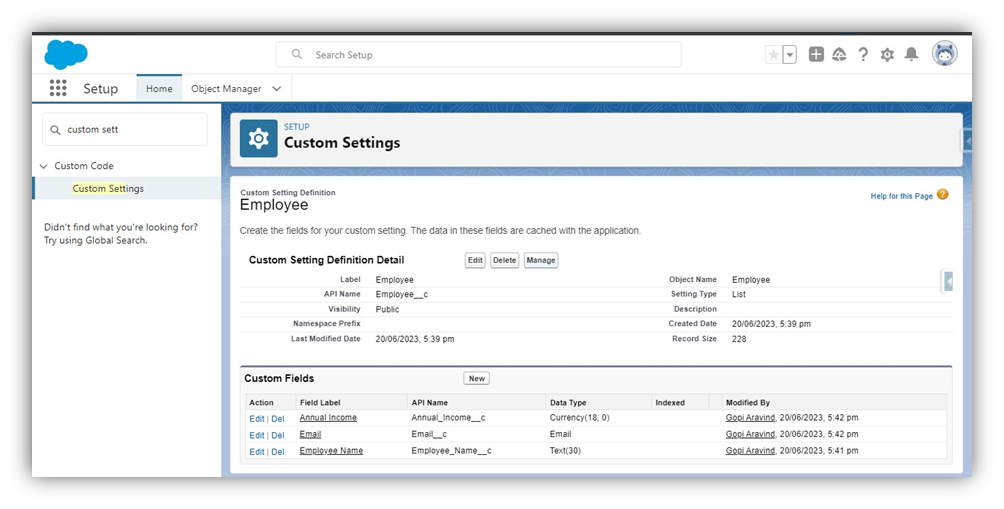
Step 6: The custom setting is created with custom fields. Now, Click the Manage button. we can create some sample data as in the below image.
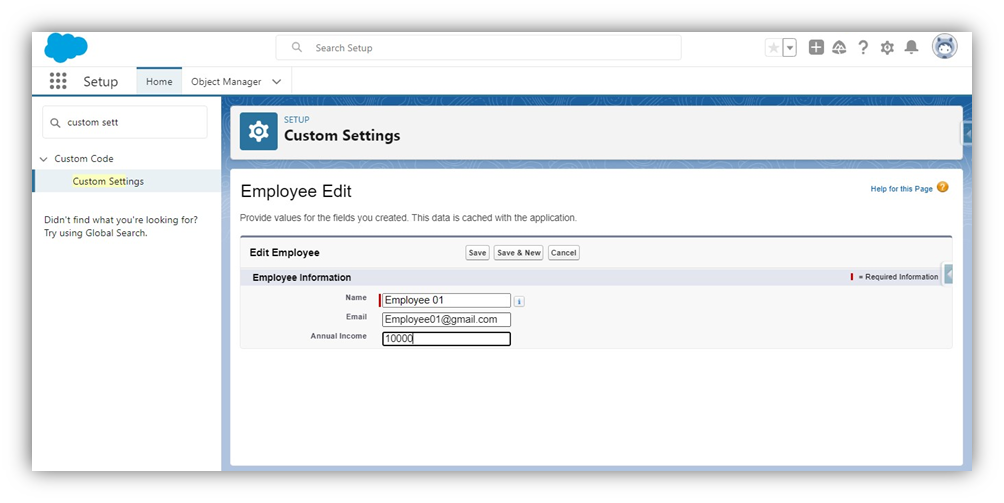
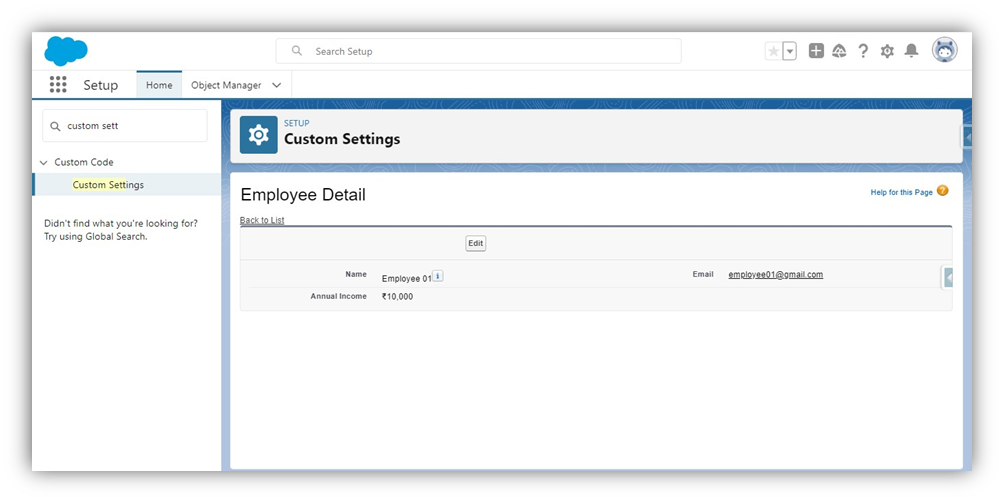
Step 7: Click the Save Button. Now, the custom field is created.
Advantages and Disadvantages:
Advantage:
- Quick access to data.
- A query is not required.
- Hierarchy custom settings give different data as per the profile or user ID.
Disadvantage:
- Custom-setting data cannot be deployed to any other organization.
- Tabs cannot be created.
- only 300 fields are allowed.
- Manually deploy the data.
- Metadata:
- Metadata is data about data and is the same as Custom Settings.
- It is similar to a custom object that creates the Validation rule, page layout, and fields.
- Its API name end with “__mdt “.
- It provided a lookup, picklist, and text area.
How to create the Custom Metadata settings:
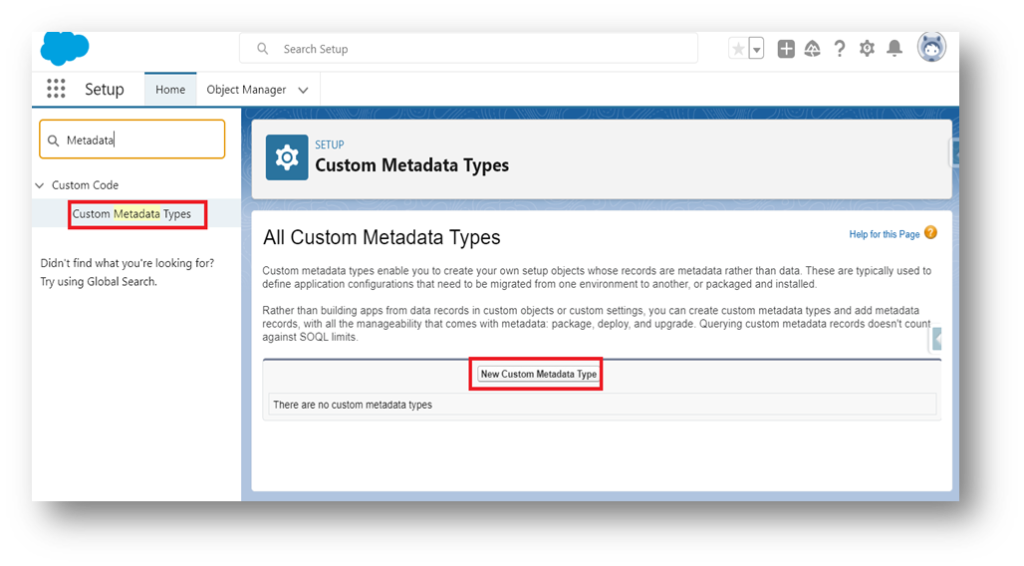
Step 1: Go to the Salesforce Setup menu.
Step 2: In the Quick Find box, search the Custom Metadata types and click the new button.
Step 3: If click the new button, show the Custom Metadata Type Information page and then enter the label and Object name.
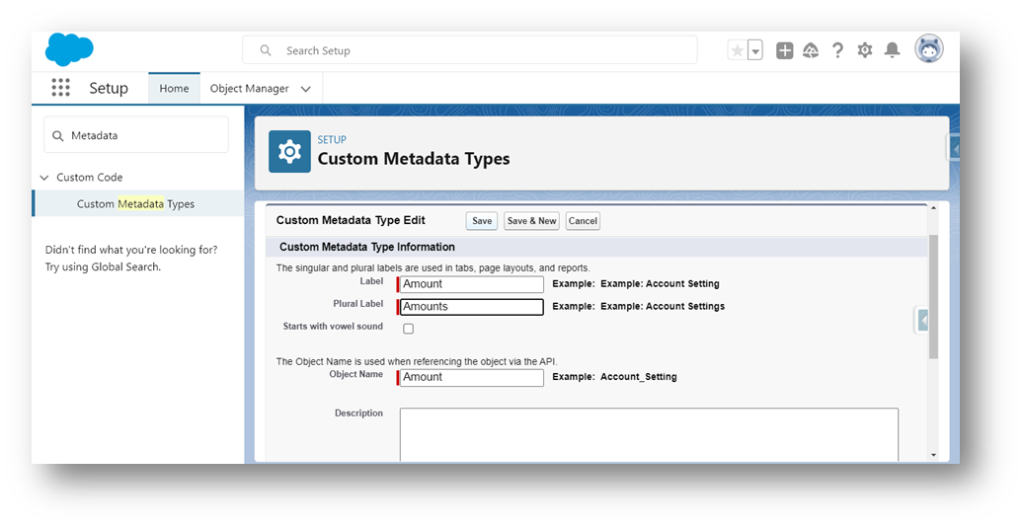
Step 4: Next click the save button, and the metadata is created.
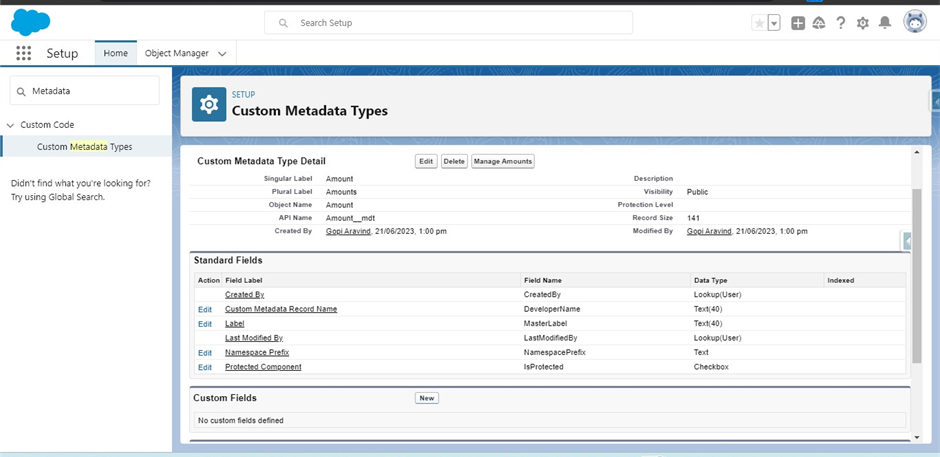
Step 5: The custom Metadata types were created, and now We start creating custom fields, validation rules, and page layouts for our needs.